Installation Guide
Before installation, confirm your cavity closer size matches the cavity width of your opening. The full product range from 50mm to 300mm is available on the cavity closers page.
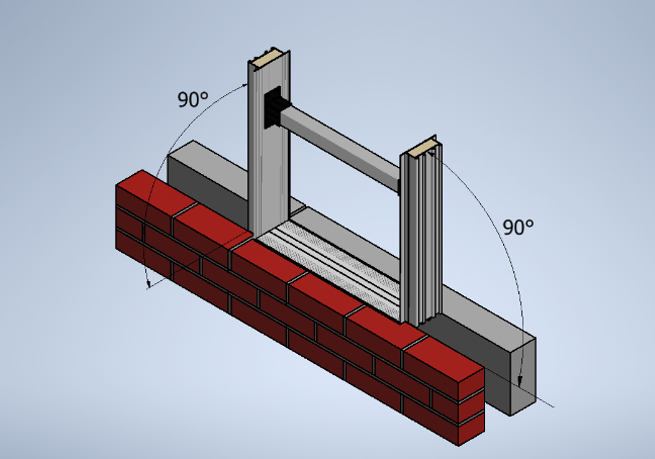
Step 1
Sit the closer into the cavity at sill height. Check that the cavity closer is level and square
by using a spirit level to ensure that one leg and the sill of the closer are plumb and square.
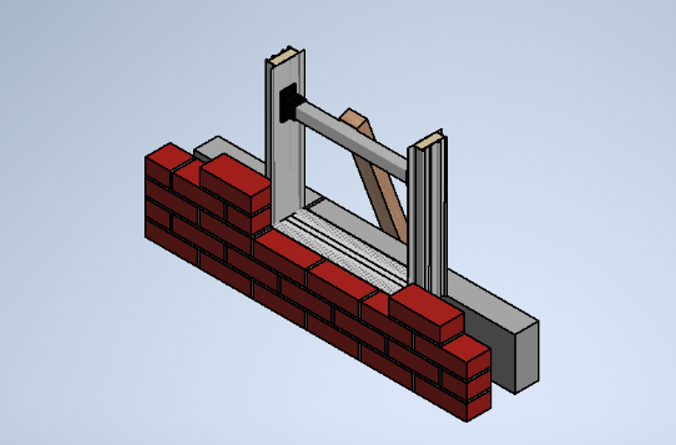
Step 2
Prop up the cavity closer vertically in place with a batten/plank
as shown to ensure it remains plumb. If further adjustment for square is required simply remove one
side of the timber bracing.
Build up the coursework around the cavity closer by 3 brick and 1 block course.
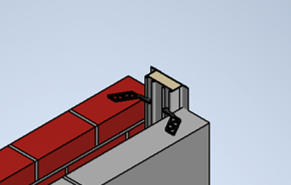
Step 3
Insert brick ties into the cavity closer, rotate by 90 degrees and bed into mortar on both inner
and outer courses.
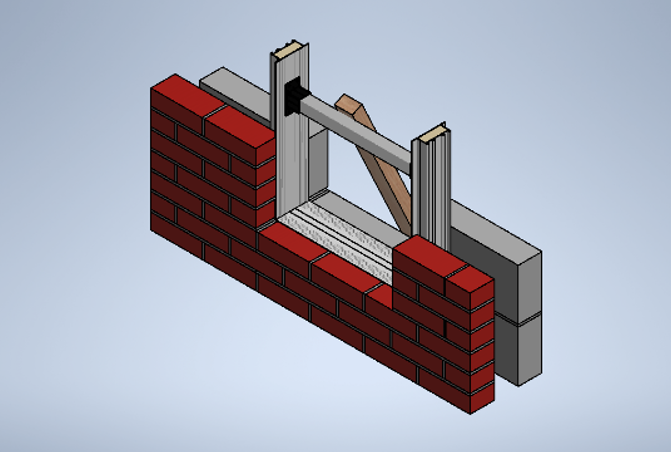
Step 4
Continue to build the coursework up and around the cavity closer in the normal manner, ensuring that
the cavity closer remains plumb.
As per the BBA certificate brick ties should be inserted every 6th brick course and every other block
course. (A minimum of 3 per vertical for both internal & external leafs)
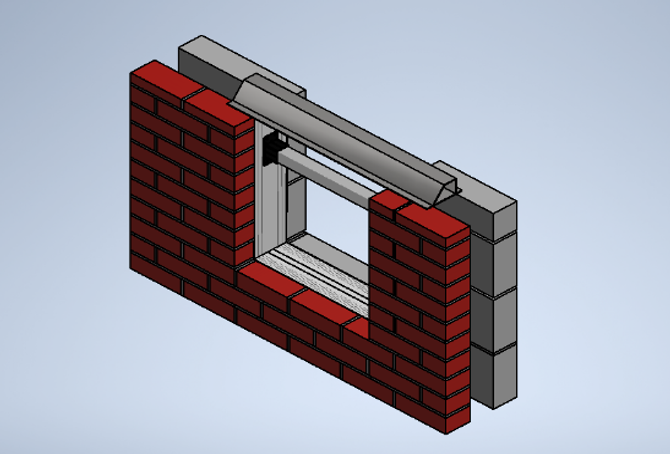
Step 5
Build the inner and outer courses up to the lintel height. The lintel should be set 5mm over the cavity
closer. Locate the lintel in position and bed into mortar. Allow mortar to set before removing the props
and brace.
Please see the videos below for visual demonstrations on the above.
For quotations, product information or technical support please call us on 01773 590100 or email sales@subframes-uk.com.
Quick Enquiry